More actions
No edit summary |
No edit summary |
||
| Line 2: | Line 2: | ||
|+ style="text-align:left;"|'''Usage:''' | |+ style="text-align:left;"|'''Usage:''' | ||
|width=150| | |width=150| | ||
* Anyone with [http://cm-ss13.com/wiki/The_Skill_System '''Trained'''] level of engineering can deploy the Mortar | * Anyone with a [http://cm-ss13.com/wiki/The_Skill_System '''Trained'''] level of engineering (Level 1 in engineering) can deploy and use the Mortar. | ||
* Recruit a squad member to be your spotter and make sure they have tactical binoculars. | * Recruit a squad member to be your spotter and make sure they have tactical binoculars. | ||
* Send your newly recruited spotter to ascertain coordinates of enemy positions. Once in your active hand click on the binoculars then '''''Ctrl Click''''' an enemy position and wait, once the binoculars beep you'll be given coordinates in chat. | * Send your newly recruited spotter to ascertain coordinates of enemy positions. Once in your active hand click on the binoculars then '''''Ctrl Click''''' an enemy position and wait, once the binoculars beep you'll be given coordinates in chat. | ||
Revision as of 22:35, 20 June 2021
Note: After entering in a target the mortar will fire upon being loaded.
Note: The further away your target is the less accurate the mortar becomes so you will have to correctly offset it more.
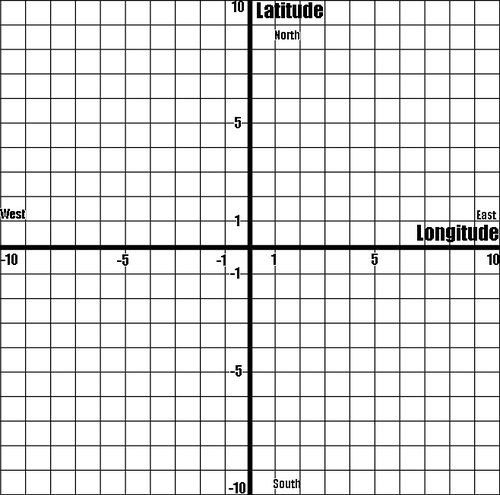
Example: The flare lands and the spotter notices that it missed the targeted area by 4 tiles east and 3 tiles south and relays that to you. You would then dial the offset as -4 Longitude and 3 Latitude.
Dialling Graph: |

